Booting ThinC-COMPUTE
- Insert the ThinC-COMPUTE to the PC/laptop USB port. Power on the PC and Keep tapping the boot configuration key repeatedly during the initial startup screen to enter the Boot Manager. Example boot configuration keys "F12" or "F10" or "F11" or "Del"
- The device will request for authentication. Authenticate using the registered finger. Note: It is mandatory for the user to enroll atleast one fingerprint on the ThinC-COMPUTE device for booting the secure OS from the ThinC-COMPUTE device. The steps on how to enroll the fingerprints are available in the ThinC COMPUTE user manual.
- From the Boot menu, choose the ThinC-COMPUTE visible as ThinC USB Storage/ThinC USB Hard disk/Linpus Lite USB as boot device. If the PC/laptop boots to the original operating system, reboot the PC/laptop and try once again.
- From the Boot menu, choose the ThinC-COMPUTE visible as ThinC USB Storage/ThinC USB Hard disk/Linpus Lite USB as boot device. If the PC/laptop boots to the original operating system, reboot the PC/laptop and try once again.
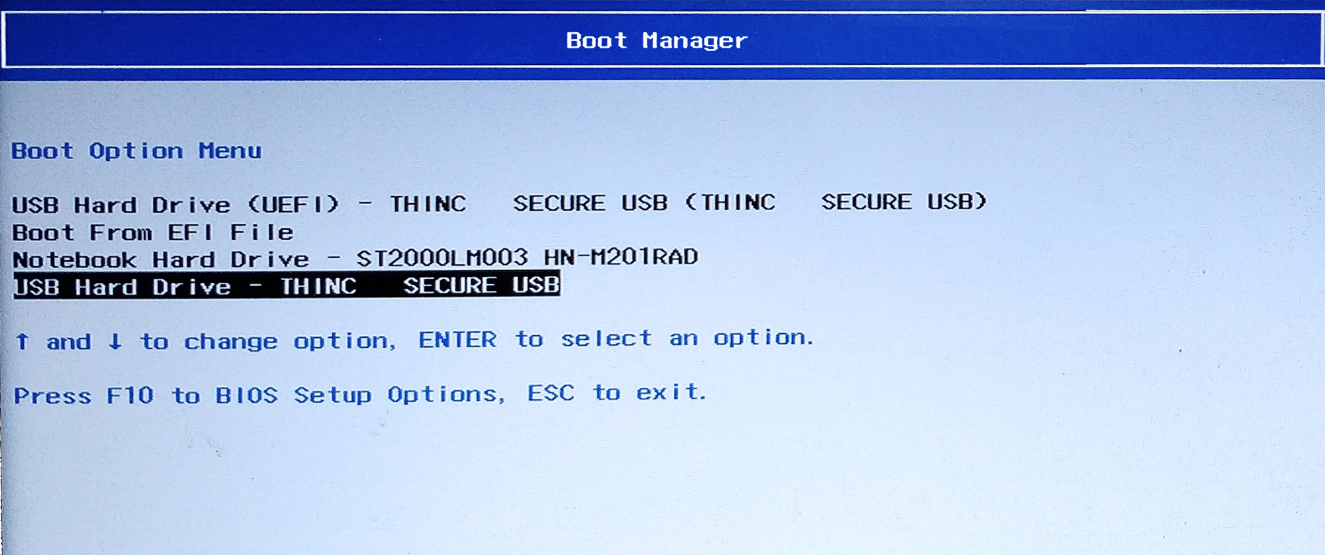
Figure 1: Sample Screen-1
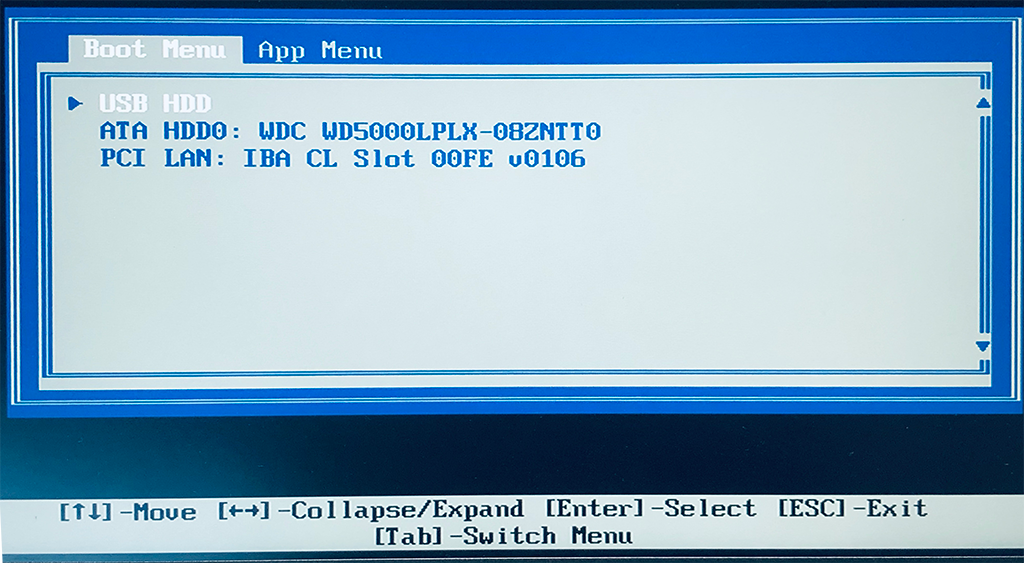
Figure 2: Sample Screen-2
- On selecting the USB Drive as the bootable priority, the ThinC-COMPUTE will display two secure partitions in the name of “ThinC Secure”. User should select the second or bottom partition from the list.

Figure 3: Displaying two secure partitions from the ThinC-COMPUTE device.
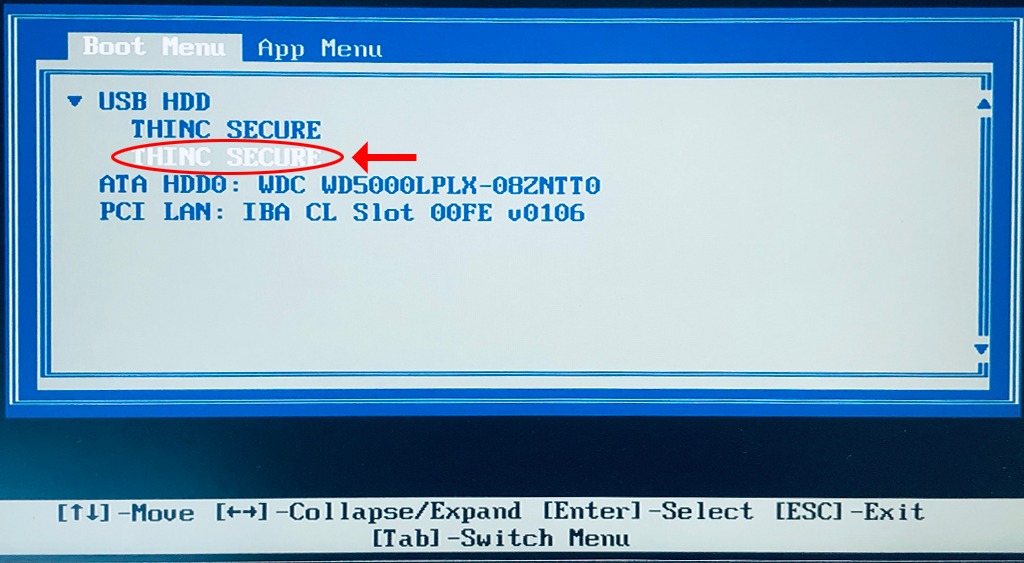
Figure 4: Selecting a bootable "ThinC Secure" partition
- Once selected the Secure operating system in ThinC-COMPUTE device will start booting